Do you first write an outline when writing a blog post or do you directly start writing the main piece?
Writing a blog post outline seems like an extra work, especially when you are not used to writing them.
Most content writers think that it is unnecessary to write an outline when you have got everything you need to write the blog post.
Do I write an outline before writing a blog post or web page?
Sometimes I do, sometimes I don’t.
It depends on how deep the blog post or the web page goes.
If there are just 400-600 words, then I skip writing the outline when the message is quite straightforward.
If the topic is complicated with lots of information, then I certainly first create an outline and submit it to the client.
Having gone through the outline the client gets a basic idea of what I’m covering and what is the flow of my narrative.
It saves both of us lots of time of editing and revising.
The benefits of writing a blog post outline
Have you ever read blog posts like “Write a blog post in just one hour”?
While such blog posts have some good tips on how to write faster, it is only in the body text that they reveal that you must have an outline to be able to write a blog post in just one hour.
Aside from writing a blog post faster, here are some benefits of writing a blog post outline before working on the complete thing:
Writing an outline saves you time and effort in the long run
In many cases you spend more time revising and editing a blog post than initially writing it.
You may completely misinterpret the instructions sent by the client.
Personally, I have experienced that the problem is not with interpretation.
Often the clients fail to send the right specifications and only when they read the complete blog post they realize that it isn’t what they were looking for.
Most of the clients don’t even pay you extra for all the work you need to do just because they didn’t give you the right information.
An outline can help you in this regard.
Write an outline in such a manner that the client completely understands what is being represented through the blog post.
Even after that if there is a confusion, since the client has already approved the outline, in case you need to rework, you can demand extra money.
Writing an outline helps you organize your thoughts better
You want to give your best when you are writing a blog post whether you are writing it for yourself or your client.
You don’t want to miss important information.
You want to cover all the important points.
You want to research and include the right data.
You may also have in mind what images you want to use.
When you are writing an outline you will have a complete map of how to formulate your blog post and you won’t miss the important point.
You will also know in which direction your information must flow to make the right impact.
In the hubbub of writing the main blog post, you may miss these points.
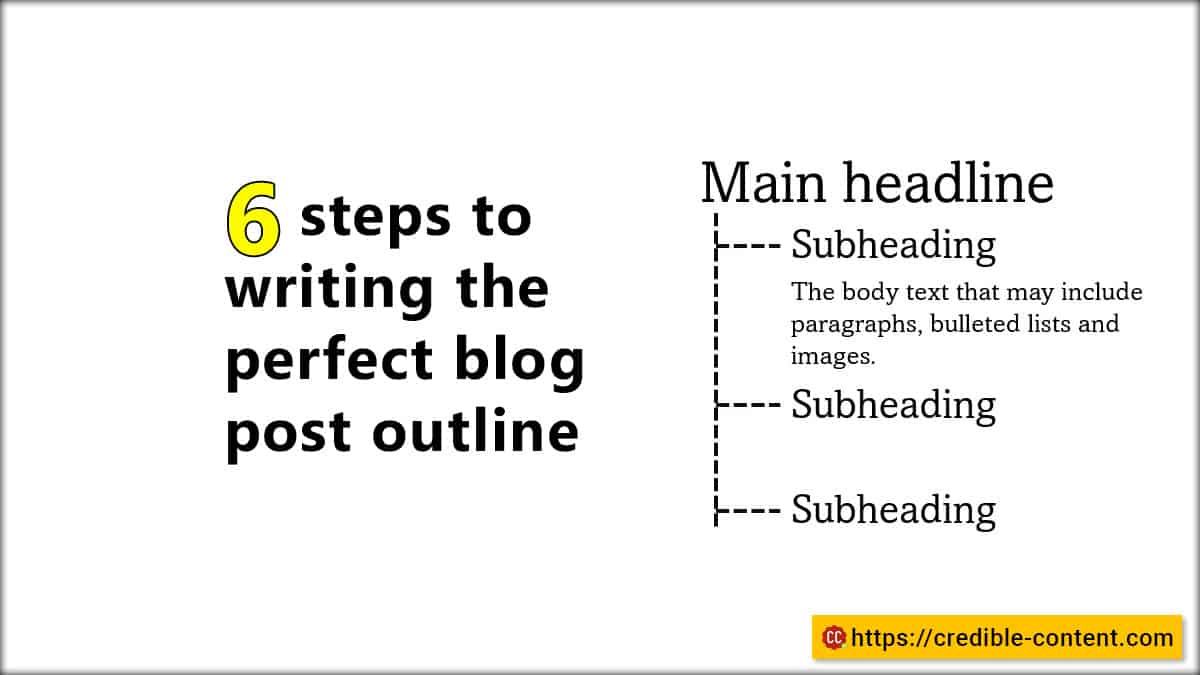
Steps needed to write the perfect blog post outline
1. Write the main headline and the description

In this step you write the main headline, the HTML title, and the description of your blog post.
The main headline and the HTML title may be the same or different depending on your SEO and engagement needs.
The HTML title is what appears in search results as a hyperlink when your link appears for a search.
The main headline is the biggest font type text that appears at the top of your blog post.
Your main headline most probably appears with an H1 tag.
Again, I’m repeating that they can be same, or they can be different.
After that you write a small description of what your blog post stands for and what you’re going to deliver.
Additionally, you may also want to compile a list of keywords and longtail phrases that you would like to cover in the current blog post.
I’m interested in knowing the keywords not just for the purpose of improving rankings, but also to understand the language that people use when searching.
When using Google, people mostly use queries in their own language.
You may also like to read: How important are keywords when writing content?
These 4 pieces of information will give a solid direction to your entire outline.
2. Write down all possible subheadings

One under the other.
You write subheadings most probably with the H2 tag.
These are the subsections.
You can also call them subtopics.
These are the different subtopics that you would like to cover under the main headline.
Here comes the main information.
It is the subtopics or the subheadings that will tell you (and your client) what all you are going to cover in your blog post.
You may like to do some research on other websites and blogs to check what all subtopics they have covered.
The more subheadings you have, the longer will be your blog post.
Don’t cram your blog post needlessly.
But try to include as much useful information as possible.
Remember that your subheadings enable your readers to quickly skim through your content.
You may like to read How to use subheadings to make your writing more effective
Your subheadings help your readers decide whether they want to read their remaining text or not.
Your subheadings should be able to tell almost 50% of the story.
3. Write information under the subheadings
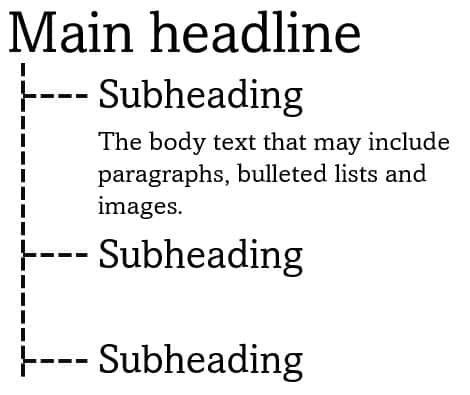
Now you can start adding information under the subheadings.
There is no need to write complete sentences.
Just write some introductory sentences on how you would like to describe individual subtopics.
You can even use simple bulleted lists to put in information under individual subheadings.
The more information you put, the more comprehensive will be your outline and the faster you will be able to complete your blog post, with greater accuracy.
4. Prepare images
Although when I’m writing blog posts, I prepare images once I have completed the blog post, sometimes it is better to decide what images you are going to use during the outlining phase itself.
This way when you are writing and publishing the completed blog post, you will be able to work faster because you will already have the images with you.
Unless the client is paying for images, you will be getting them from your client.
This is a good way of getting the client involved in the blog writing process and increase his or her stakes.
5. Gather data when preparing the outline for your blog post
Data helps you build your authority.
In this section of creating outline for your blog post do research and find authoritative information that you can use in your blog.
People prefer numbers rather than estimates.
For example, instead of saying there are millions of blogs managed by WordPress, it is better to say that right now 43.2% of all websites on the Internet use WordPress as back-end (source).
Instead of saying that email is still widely used, you can say that 99% of email users check their email everyday (source).
When doing research, just make sure that you get the information from authoritative websites.
How much research you do depends on how much time you can afford to send on a particular blog post.
For example, if your client is paying per word, it doesn’t make sense to spend two hours on a 600-word blog post when the client is not going to pay you for the extra hours you spend researching.
On the other hand, if you are researching for your own blog, make sure you spend ample amount of time while creating the outline itself.
6. Consider, what, who, where, why, and how of your blog post in the outline
Every blog post must answer the following questions:
- What is the purpose of writing your blog post?
- Who is your target reader?
- Where will your blog post be read the most – devices, regions, and platforms?
- Why must people read your blog post?
- How should your readers react after reading your blog post?
Whether you want to write a blog post outline before writing the actual blog post depends on your preference.
It is not written in stone.
It is just that, it helps if you plan and if you already have the information.
Personally, I have seen that writing an outline for a blog post or a web page sometimes works and sometimes it can be a needless distraction.
You need to develop your own system.
You can decide to write an outline before writing the actual blog post or you can straightaway write your blog post – whatever suits you.